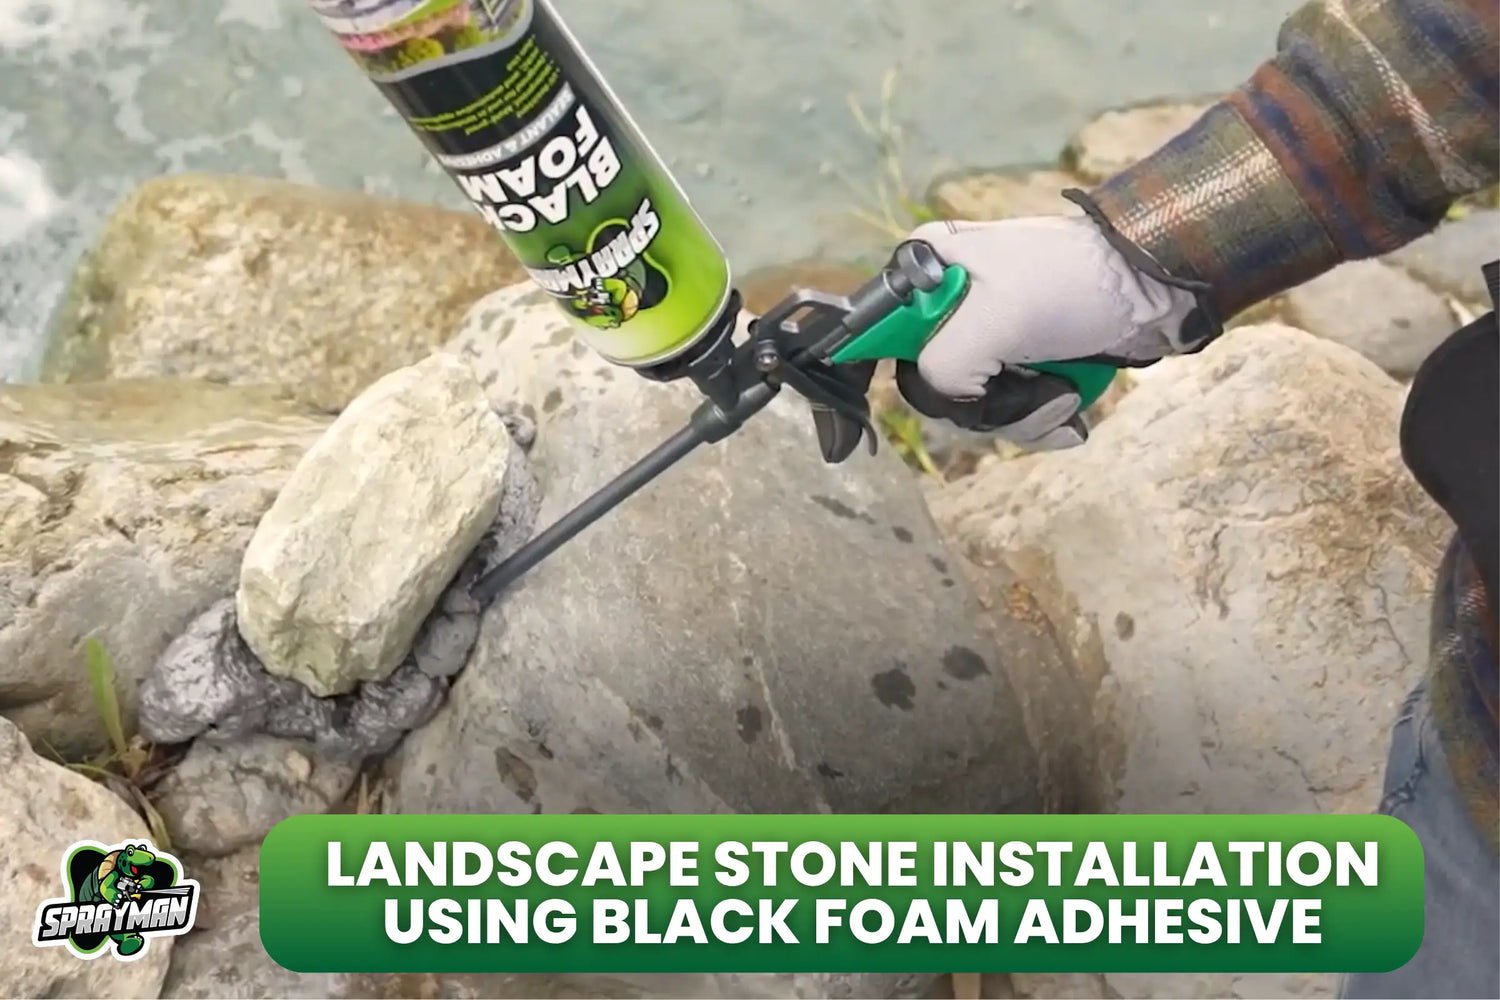
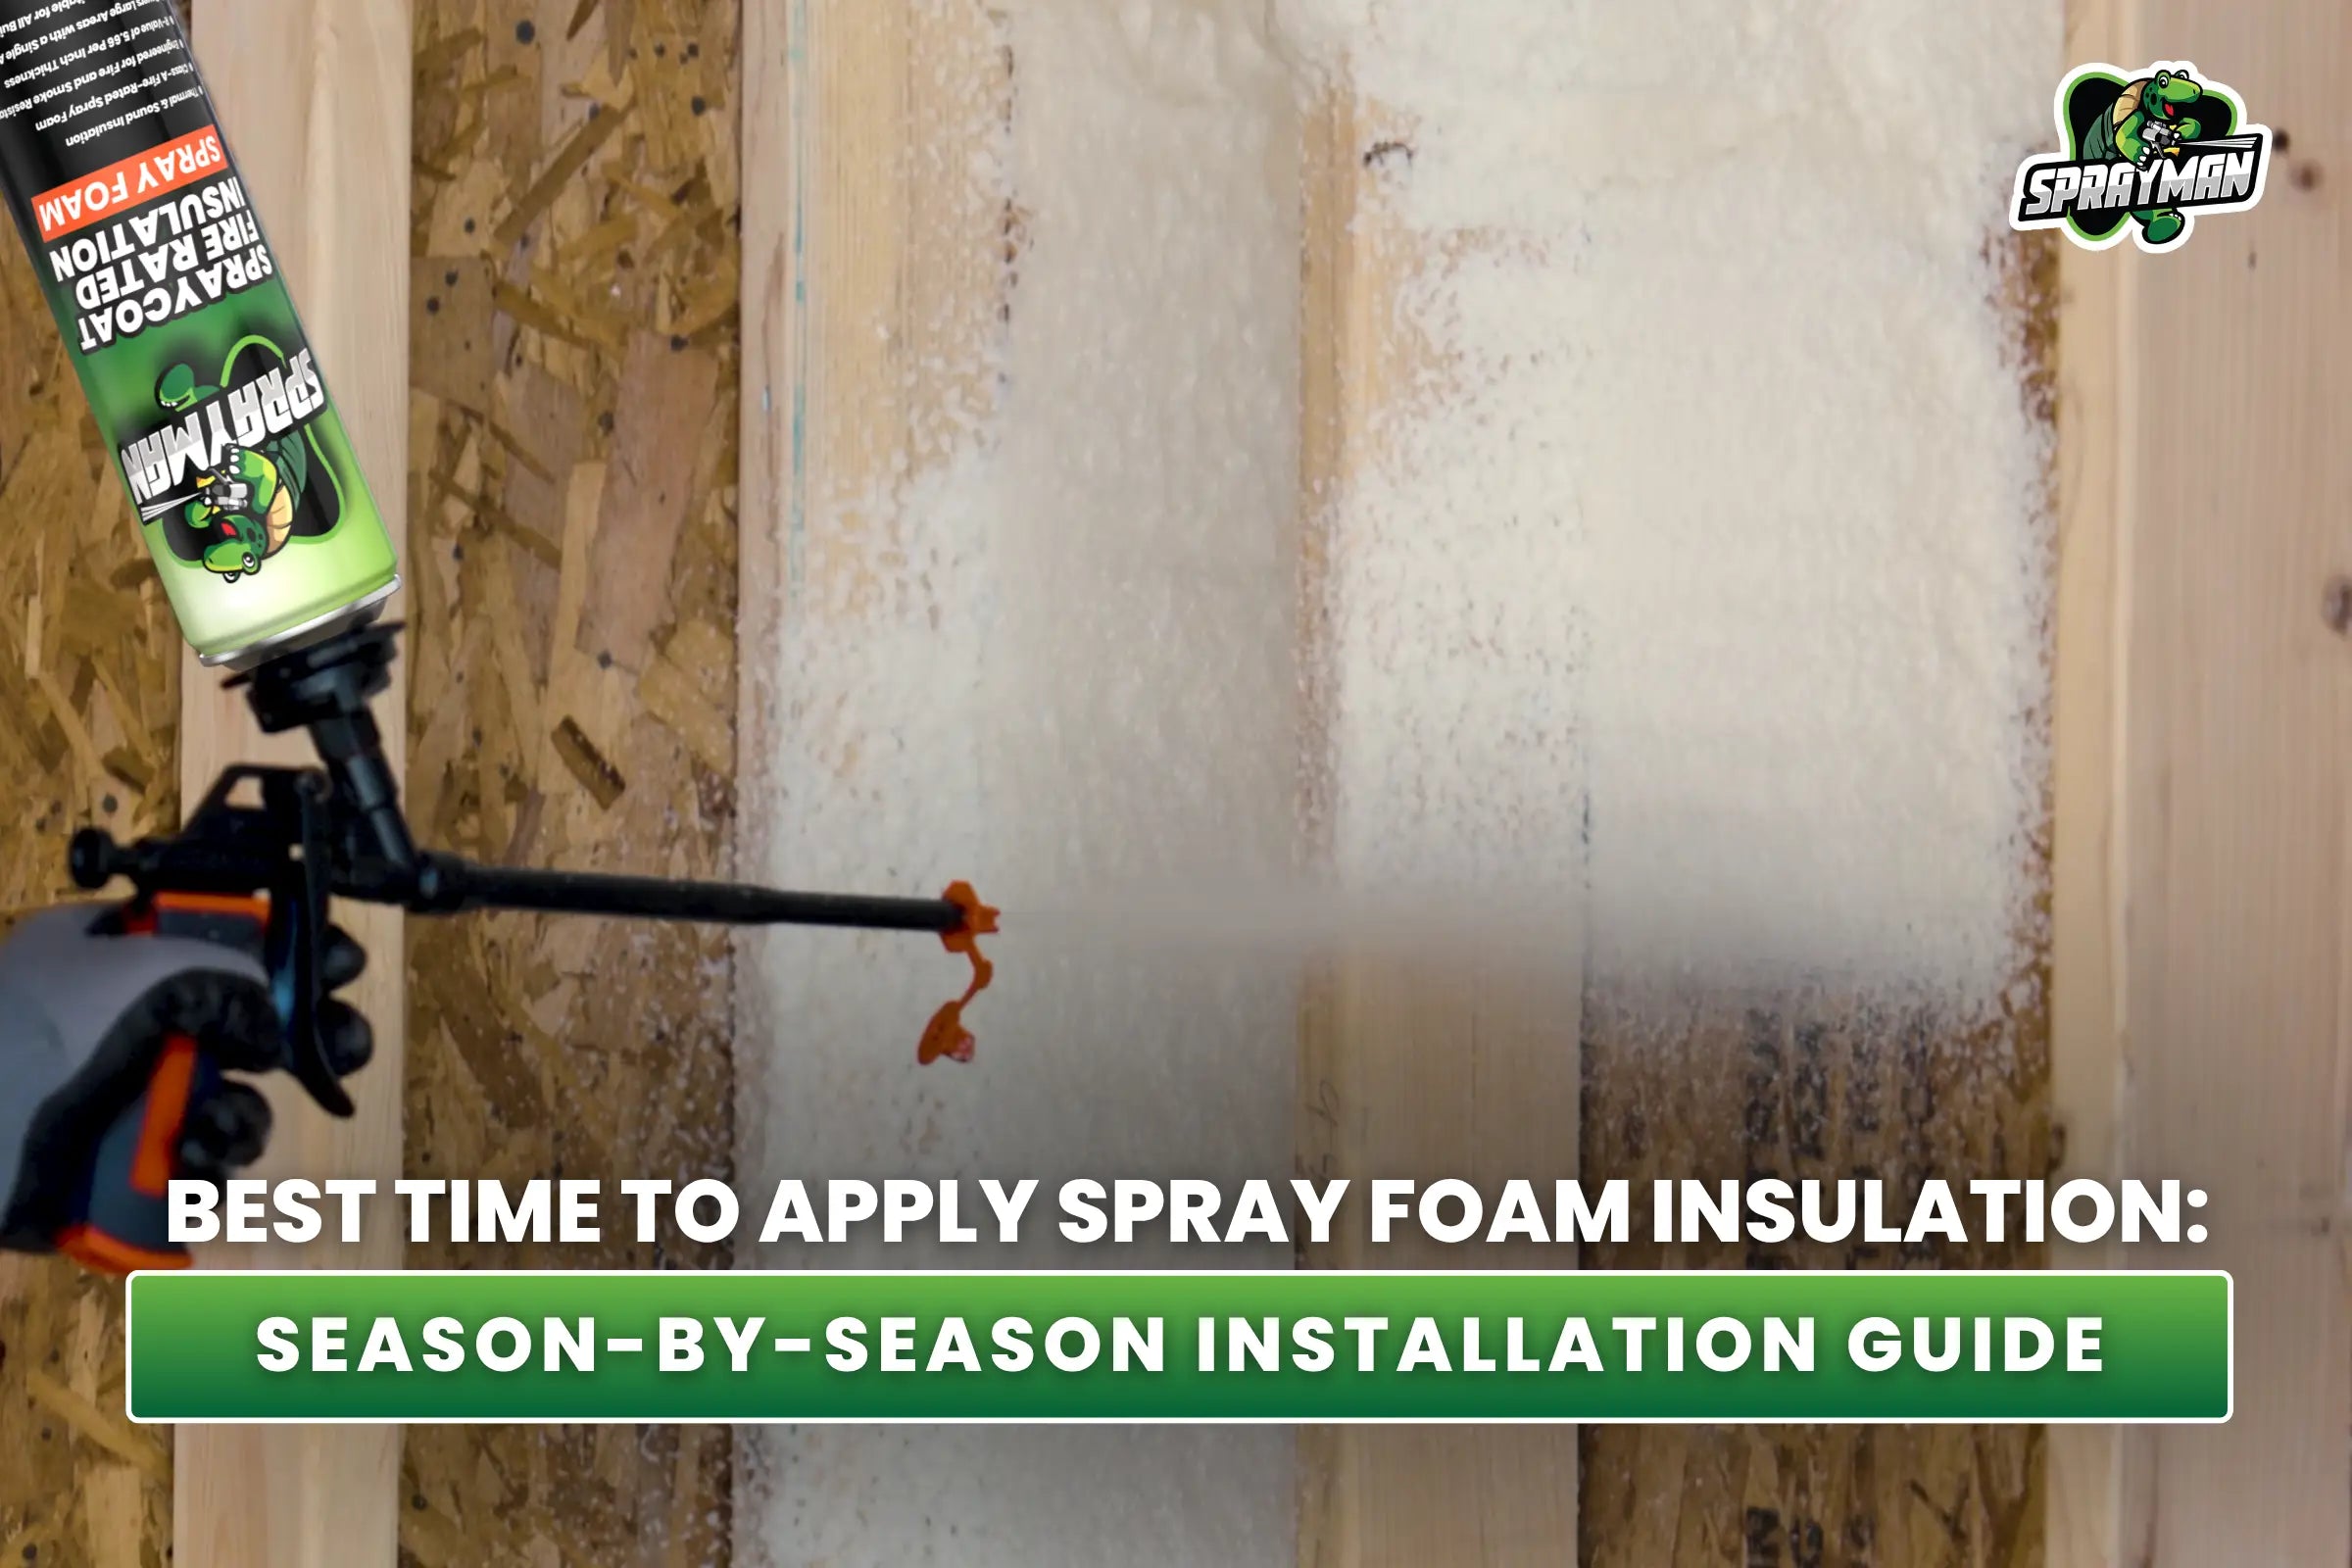
Landscape foam and landscape adhesive are used to secure capstones, boulders, and stepping stones in outdoor construction where ground movement can crack rigid mortar. This guide explains how to install landscape stone with foam, when to use landscape adhesive instead of mortar, and how landscape foam performs in freeze-thaw environments. Foam adhesive works within a 21°F to 86°F (-6°C to 30°C) application range, becomes tack-free in 7 minutes, can be trimmed in 35–40 minutes, and fully cures in 24 hours. When installed correctly and protected from UV exposure, foam adhesive installations can last 10–15+ years.

Why Foam Adhesive Outperforms Mortar for Landscape Stone
Foam adhesive outperforms mortar because foam remains flexible and absorbs ground movement that cracks rigid mortar. Seasonal frost heaving can move soil up to 2–4 inches (5–10 cm) in freeze–thaw climates, which causes rigid mortar joints to crack. Foam adhesive forms a flexible bond that allows for small movement without breaking the stone bond. This flexibility is the main reason landscape foam is used for capstones, boulders, and stepping stones.
Mortar also increases installation time. Mortar projects often require 2–3 days, including curing time, while foam adhesive installations are usually completed in a single day. This difference in installation time leads directly to the next step, which is choosing the correct foam applicator.
Choosing the Right Landscape Foam Applicator
Choosing the right landscape foam applicator depends on project size and the number of stones being installed. Both gun foam and straw foam use the same foam chemistry, but the application method changes control and foam output.
Gun foam works best for:
- Retaining wall capstones
- Multi-stone installations
- Large stone placement
- Projects requiring precise foam placement

Straw foam works best for:
- Stepping stones
- Small stone placement
- Repair work
- DIY landscape projects

The applicator type affects black foam control and placement accuracy, which directly affects how the foam is applied during installation.
How to Install Landscape Stones with Foam Adhesive
Installing landscape stones with landscape adhesive requires following a step-by-step process that ensures bond strength and long-term stability.
Step 1: Plan Stone Placement
Planning stone placement ensures proper spacing, drainage, and foam expansion allowance.
- Dry-fit all stones before applying foam
- Mark stone positions with chalk or stakes
- Plan drainage paths
- Leave space for foam expansion
- Stage stones near the installation area
Proper planning makes surface preparation easier, which is the next step in landscape stone installation.
Step 2: Prepare Stone Surfaces
Preparing stone surfaces ensures the landscape adhesive bonds directly to stone instead of dust or debris.
- Clean stone with a brush or pressure washer
- Remove dirt, moss, and loose material
- Dry stones completely
- Lightly mist surfaces before applying foam
- Apply foam between 21°F and 86°F (-6°C and 30°C)
Surface preparation directly affects foam bonding, which is why foam placement strategy is important.
Step 3: Apply Landscape Adhesive Strategically
Applying landscape adhesive in the correct pattern distributes weight and stabilizes stones.
For retaining wall capstones:
- Run a continuous bead along the back edge
- Add parallel beads every 8–12 inches (20–30 cm)
- Apply extra foam at corners
- Fill 40–60% of the gap
For boulder stabilization:
- Apply foam in a ring pattern under the stone
- Add cross beads for support
- Focus foam where stone contacts the ground
- Create a foam base to distribute weight
For stepping stones:
- Apply foam in an X pattern
- Add a perimeter bead
- Avoid overfilling
Correct foam placement determines how stones are positioned and secured.
Step 4: Position and Secure Stones
Positioning stones correctly ensures proper alignment and bonding.
- Place stones within a few minutes of foam application
- Apply pressure for 30–60 seconds
- Check alignment immediately
- Brace large stones if necessary
- Allow 24 hours for full cure
After positioning stones, excess foam must be cleaned for a professional finish.
Step 5: Clean Excess Foam
Cleaning excess foam improves appearance and prevents visible foam.
- Remove uncured foam with foam cleaner
- Wait 35–40 minutes before trimming cured foam
- Trim foam flush with stone surface
- Do not leave exposed foam visible
Once trimmed, foam must be protected from UV exposure to extend lifespan.
Step 6: Protect and Finish
Protecting foam from UV exposure extends installation life.
- Paint exposed foam
- Apply UV-resistant coating
- Cover foam with soil or mulch
- Wait 24 hours before adding a heavy load
Proper installation methods lead to better performance in different landscape applications.

Professional Techniques for Landscape Stone Applications
Professional installation techniques improve stability and appearance in different landscape projects.
- Retaining wall capstones require a level base. The wall surface should vary less than 1/4 inch per 10 feet (0.6 cm per 3 m). Apply foam toward the back edge to stabilize capstones.
- Large boulders require a stable base. Excavate 6–8 inches (15–20 cm) into compacted soil and apply foam in a thick ring before placing the stone.
- Natural stone steps require a compacted gravel base of 4–6 inches (10–15 cm). Overlap each step and apply foam between overlapping stone surfaces.
These installation methods prevent the most common installation mistakes.
Common Mistakes in Landscape Foam Installation
Common mistakes in landscape foam installation reduce bond strength and cause stone movement.
There are 5 common installation mistakes:
- Applying foam to dirty surfaces
- Overfilling gaps
- Ignoring ground preparation
- Working in extreme temperatures
- Repositioning stones too late
Avoiding these mistakes improves installation success and long-term durability.
When to Use Foam Adhesive Instead of Mortar or Construction Adhesive
Foam adhesive should be used instead of mortar when ground movement, irregular stone shapes, or faster installation are important. Mortar works best for rigid structural masonry, while foam adhesive works best for landscape stone, capstones, and decorative boulders.
Construction adhesive does not expand or fill voids, while landscape foam fills gaps and stabilizes stones. This difference makes foam adhesive better for outdoor landscape installations where soil movement occurs.
Why Professional Black Foam Matters
Professional black foam lasts 10–15+ years when installed correctly and protected from UV exposure. Standard construction foam degrades faster in outdoor conditions.
Professional foam provides:
- UV resistance
- Waterproof performance
- Temperature resistance from -40°F to 176°F (-40°C to 80°C)
- Visual blending with stone and soil
- Long service life
Choosing professional foam leads to better long-term results, which is why selecting the right product matters before starting a project.
Black foam sealant is used not only for landscape stone installation but also for pond, waterfall, RV, and outdoor sealing applications. To understand where black foam performs best in outdoor, water feature, and vehicle applications, see our Black Foam Sealant: Complete Use Case Guide for Outdoor & Specialty Projects.
Choose the Right Landscape Foam for Your Project
Choosing the right landscape foam depends on project size, stone size, and application type. Professional-grade foam provides better UV resistance, adhesion, and long-term outdoor durability than standard construction foam.
If you are working on retaining walls, boulders, stepping stones, ponds, waterfalls, or RV sealing projects, using a professional black foam sealant designed for outdoor use improves durability and installation quality.
If you are not sure which foam type or expansion rate is right for your project, see our The Ultimate Guide to Foam Sealant: Types, Uses, Expansion Rates & Pro Tips.
Conclusion
Landscape stone installation with landscape foam provides a faster, more flexible, and more durable alternative to traditional mortar for capstones, boulders, and stepping stones. When applied correctly on clean, properly prepared surfaces, landscape adhesive creates a strong bond that resists ground movement, moisture, and temperature changes. Following proper foam placement, curing time, and UV protection steps ensures long-lasting outdoor performance for landscape projects.
For best results, use a professional black foam sealant designed specifically for outdoor applications such as landscaping, water features, and RV sealing. Using the right product helps ensure better adhesion, UV resistance, and long-term durability in demanding outdoor conditions.
Explore our Black Foam Sealant products to choose the right foam for your project.
Frequently Asked Questions
Can landscape adhesive hold heavy stones?
Landscape adhesive holds heavy stones securely when weight is properly distributed and the surface is prepared correctly.
How long does landscape foam last outdoors?
Landscape foam lasts 10–15+ years when protected from UV exposure and applied correctly.
Is landscape foam waterproof after curing?
Landscape foam is waterproof after the 24-hour cure period because it forms a closed-cell structure that resists water absorption.
Does landscape foam replace mortar?
Landscape foam replaces mortar in many landscape applications that require flexibility and faster installation.

Leave a comment
This site is protected by hCaptcha and the hCaptcha Privacy Policy and Terms of Service apply.